40 ADVANCED Mechanics The Game Never Explains! | Hunt: Showdown 1896
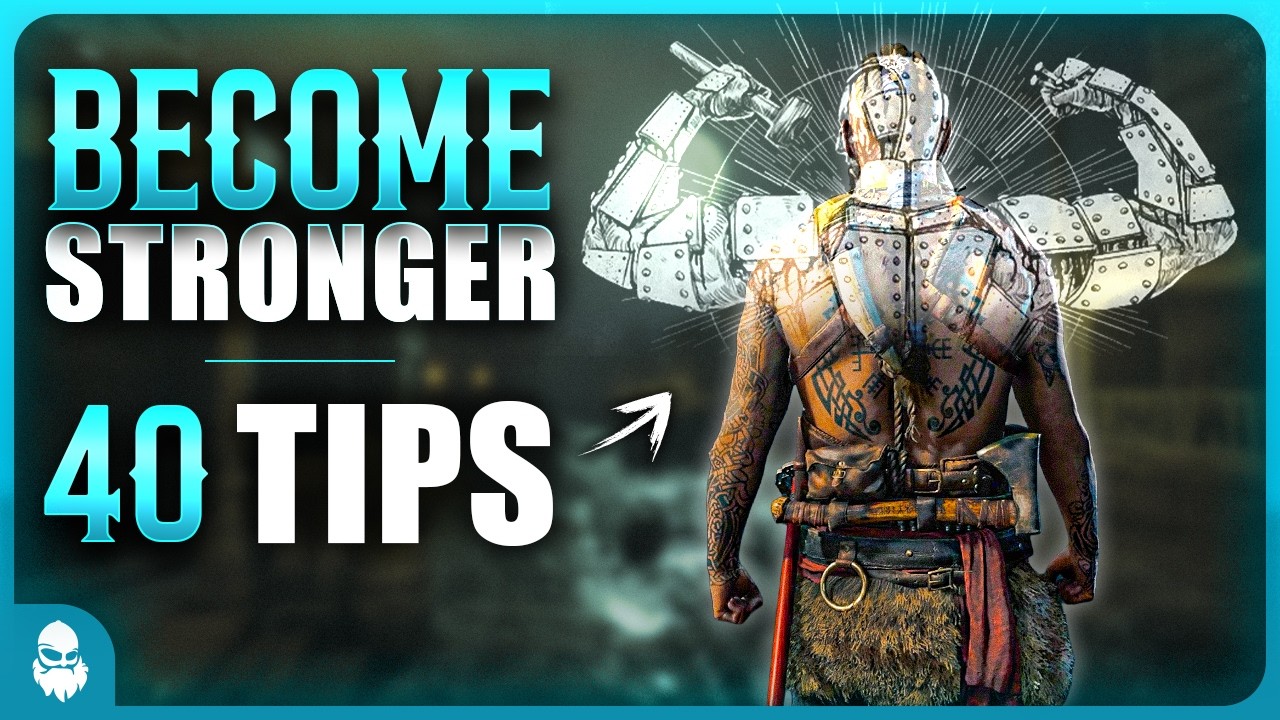
Hi guys, REX here! Whether you’re an experienced player or pushing into higher MMR, mastering Hunt’s deeper mechanics gives you a serious edge. Here are 40 advanced mechanics, tips & tricks to help you win more fights, make smarter plays, and catch your enemies off guard. Number 14 will probably surprise you, but without further ado – let’s dive into it.
Explosives, Fire & High-Impact Combat Tricks
- Sticky bombs can be shot to detonate them early. This can often catch enemies off guard as they expect a much longer fuse time, and allows you to get creative with your placements since they attach to surfaces.
- Explosives detonate when in contact with any fire source. You can use this to your advantage by throwing it on lamps for instant detonations, but if you want to take it to the next level you can set up a kill by throwing a fuse or fire your flare pistol on the ground then throw an explosive directly on the flare for an instant explosion.
- Flares can burn more than 1 body at the same time if they are stacked together. This can save you valuable resources and time in a hectic combat scenario.
- You can use explosives to create makeshift smoke bombs. This works with all dynamites and the dark dynamite satchel. For example, throw a dynamite on the body of a downed teammate so that it explodes right before a necromancer revive, and the enemy will not have clear vision to re-down them. For the dark dynamite satchel, run up to your teammate and place it on the ground, back off, detonate and instantly start channeling necromancer.
- Dark dynamite satchels get deactivated while in choke clouds. During this time, the owner of the satchel can see it in dark sight but cannot detonate it. Likewise, you cannot disarm it – but if you need to move past one quickly and safely, this is the way to do it!
- The bulwark trait reduces explosive damage by 50%, which affects all dynamites and even explosive barrels. What you may not know is that the trait does not work against frag bombs, since they deal rending instead of explosive damage.
- Liquid fire bombs can be used to burn hunters submerged in water. This is the only way to burn under these conditions, and while it is neither practical nor possible in most cases unless you bring in a liquid fire bomb yourself – now you know!
AI, Bosses & Environmental Tactics
- A spear throw will kill water devils instantly. All nearby water devils die at the same time, making it safe to cross. Likewise, the flame rifle ironically also one-shots water devils.
- World-found melee weapons deal more damage if you throw them than if you were to attack regularly. The damage dealt also stacks with the Berserker trait for incredibly powerful throws. This works on all bosses and wild targets and is often one of the quickest ways to kill them.
- Meatheads and brutes are rather tanky, but easy to deal with if you bring a spear and pennyshot derringer. For meatheads, throw your spear at them, wait for their double swing then run up and fire your pennyshot derringer twice without getting hit. For brutes, the process is roughly the same. Try to land your spear in the stomach area as it is the weak spot, then fire the pennyshot twice at the same area.
- Swarms created by hives or hive barrels can be instantly killed by firing a flare pistol or throwing a fuse at it before it reaches you. Just be aware, if it’s too close it won’t work. These swarms can also be dealt with quickly using regular dusters or those on the knuckle knife.
- Immolators ignite and enrage if you pierce their skin, but did you know that they get affected by the wet status in heavy rain or when in contact with water? A wet immolator can be penetrated without enraging and is easier to kill. Additionally, immolators can be one-shot by hitting them directly with a water bottle.
- Hive barrels, unlike explosive or incendiary barrels, can be broken by melee damage. This also extends to concertina traps, which makes for a deadly combo since the hunter will be stuck, bleeding and affected by the hive swarm and poison at the same time.
Traits, Dark Sight & Advanced Synergies
- Charcoaled health chunks recover faster when affected by the wet status. What most people don’t know is that you can also speed it up with the Vigor trait to recover faster in dark sight, and these two effects stack for MUCH quicker recovery. Since both recovery shots and the burn trait Relentless got nerfed recently and now result in a charcoaled bar – this makes Vigor more useful than ever.
- Combining the Witness trait with dark dynamite satchels lets you know exactly when the enemy is getting revived so that you can perfectly time the detonation. Once the orange dot disappears, detonate the satchel for a guaranteed kill or two. At a minimum, you’ll re-down the revived hunter – but very often you’ll end up getting one or two of their teammates as well if they revived manually instead of using Necromancer. This can completely shift a fight in your favor, especially if you are playing solo.
- The trait Blast Sense will show you the location of shots or explosions up to 200 meters away. The only exception is silenced weapons with subsonic ammo, which means this is a great way to detect those pesky bush campers who think you have no idea where they are!
- The trait Iron Eye allows you to stay aimed down sights with bolt action, lever action and pump action weapons. Likewise, Scopesmith allows you to stay in scope view after firing a shot. What you may not know is that both traits also increase the fire rate while aiming down sights or in scope view compared to leaving ADS between shots. The exact firing speed increase depends on the weapon.
- The burn trait Remedy grants full restoration to your entire team when channeling on another trait. What you may not know is that you can do this from beetle view, which allows you to fly far off looking for traits without having to risk leaving the compound. Likewise, dark dynamite satchels can also be activated from beetle view, allowing for some next level disgusting tactics.
Weapons, Ammo & Penetration
- Choke bolts and poison bolts will kill with a single headshot, regardless of the hunter’s health. While this is neither easy to pull off nor practical in most cases – it’s a fun mechanic and often a pleasant surprise when you get a random kill out of nowhere.
- Dumdum ammo has no penetration power. Despite this fact it can be used to destroy or detonate all barrel types. Additionally, the intensity of bleeding caused by dumdum ammo falls off with distance, making it less effective at range.
- Arrows, bolts and throwing weapons have one thing in common. They cannot penetrate any surface. What you may not know is that they can all penetrate chicken wire, allowing for some useful and unexpected angles!
- The pennyshot derringer will break open a locked wooden door with a single shot, giving you an incredibly quick entry when you need it. This can be used to catch enemies off-guard or get to cover quickly when under fire.
Mid roll: OY! You there! If you’ve learned something new so far, drop a like and let me know which tip surprised you the most! Anyway – number 23…
Doors, Elevators & Map Interactions
- If your teammate dies near a door, you can use it to push their body before reviving by opening the door in the direction of your choosing. For example, if you’re standing inside, walk backwards and interact with the door to open it toward you and at the same time scooping your teammate further into cover before reviving.
- Metal gates can be shut by shooting or hitting them. This can be used to one-shot hunters if you time it perfectly, although this is incredibly tricky to do! Likewise, you can also shoot the crank on a sliding metal door to close it.
- Barred wooden doors can be opened from the outside if you shoot the bar directly from the inside. Sometimes this can be easy to do, for example if there is a window next to the door, giving you clear line of sight, but you can also wallbang it if you’re able to land an accurate shot. Placing a ping marker directly on the bar can help you land the shot more easily.
- By interacting with the crank at either end of an elevator, you send it up or down manually. What you may not know is that you can send an elevator up or down automatically by interacting with it while you are standing on it. This can be used to distract enemies, mask movement or even send up explosives like a sticky bomb.
Information, Vision & Audio Tricks
- Scopes have a built-in aim helper that helps you estimate how far away a hunter is. When the enemy from head-to-toe fits exactly within the aim helper you know you are exactly at the drop range distance and should aim at head level. If the enemy is smaller than the aim-helper, that means you need to account for drop range by aiming higher.
- The Spyglass can be used as a range finder. While in spyglass view, simply ping anywhere and it will tell you the exact distance between you and the marker. Useful? Perhaps not. But it can be a fun way to figure out how far away a particular shot was or measure the size of your…
- You can see all retrievable projectiles in dark sight within 25 meters. This includes bolts, arrows and throwing weapons. Sometimes this can reveal that enemies passed by if they didn’t retrieve them, and in other cases it’ll let you know the direction of your enemy, for example by looking at the angle of an arrow or bolt stuck in the wall.
- Decoy fuses can be used to destroy concertina, windows and wooden doors. Likewise, if you can avoid hitting the wire, a stalker beetle can also be used to clear it effectively.
Burning, Chokes & Revive Control
- Poison and choke clouds both penetrate surfaces. You can use this to choke burns from a floor below, poison an enemy behind cover or even kill them in certain cases. For choke bombs, this also means you can get info by landing chokes on enemies through walls, since affected hunters will start coughing – giving away their position and movement.
- Explosive and incendiary barrels do not detonate while in a choke cloud. If you need to pass one and you don’t want to blow it up, simply choke it and move around freely.
- You can put out fires on a burning teammate by interacting with the body. In some cases, this can be a lot faster and save resources instead of choking the body.
- While you are channeling Necromancer on a burning teammate, the burn is temporarily stopped. This can be used to delay fire damage taken or stop the burn entirely by sending a full revive. Even if the hunter gets re-downed you buy some time and waste more of their resources.
- Aside from being able to put out fire, choke bombs will also get rid of poison clouds. This can be very useful since poison clouds typically linger for a long time. If a downed teammate is laying in a poison cloud, choking it first ensures they can be revived without dying or taking significant damage.
Economy, Progression & Meta Optimization
- The Hanged Man card can be used to spectate the nearest enemy in the lobby. If you use the card and nothing happens, that means every player in the lobby is either dead or has extracted. Just be cautious – It’s not 100% reliable as I’ve sometimes had players push me after the fact, but it gives you a clear indication that you might be alone. Likewise, if you’re solo and get downed when you have the Necromancer trait, you’ll know if the lobby is clear if there is no spectate button at the bottom of the screen.
- Each day you play Hunt: Showdown you can gain up to 4 rewards from dark tribute. One of the possible rewards is +2 trait points to all hunters in your roster. By recruiting as many hunters as possible in advance, this allows you to stack up more points on all of your hunters, which opens up new build opportunities from the get-go. I personally always start my day by making sure I have 75 hunters recruited, so that each +2 to all hunters yields a net of 150 trait points.
- The first extract of the day on each hunter yields 20% more Hunt: Dollars and experience, indicated by the symbol showing on your hunter in the roster. If you want to maximize your profits and overall gain, switch hunters every time you get an extract and continue playing those same hunters another day. Over time this can make a huge difference.
- When buying a saved loadout, you can uncheck certain boxes or leave them empty. This can save you a lot of time if you save loadouts only including the tools and consumables you normally run, allowing you to purchase all the default items with a couple of clicks before selecting your primary and secondary.
Movement & Subtle Mechanics
- If you double jump into water, you get a bunny hop effect allowing you to traverse it slightly faster – or, if you want to learn more, jump over to my guides playlist
And that’s it for this video. If you learned something new, let me know in the comments which mechanic surprised you the most. If you’re picking up Hunt or any DLC, my referral link is in the description and helps support the channel.
Thank you for watching, and until next time I’ll see you in the Bayou!


