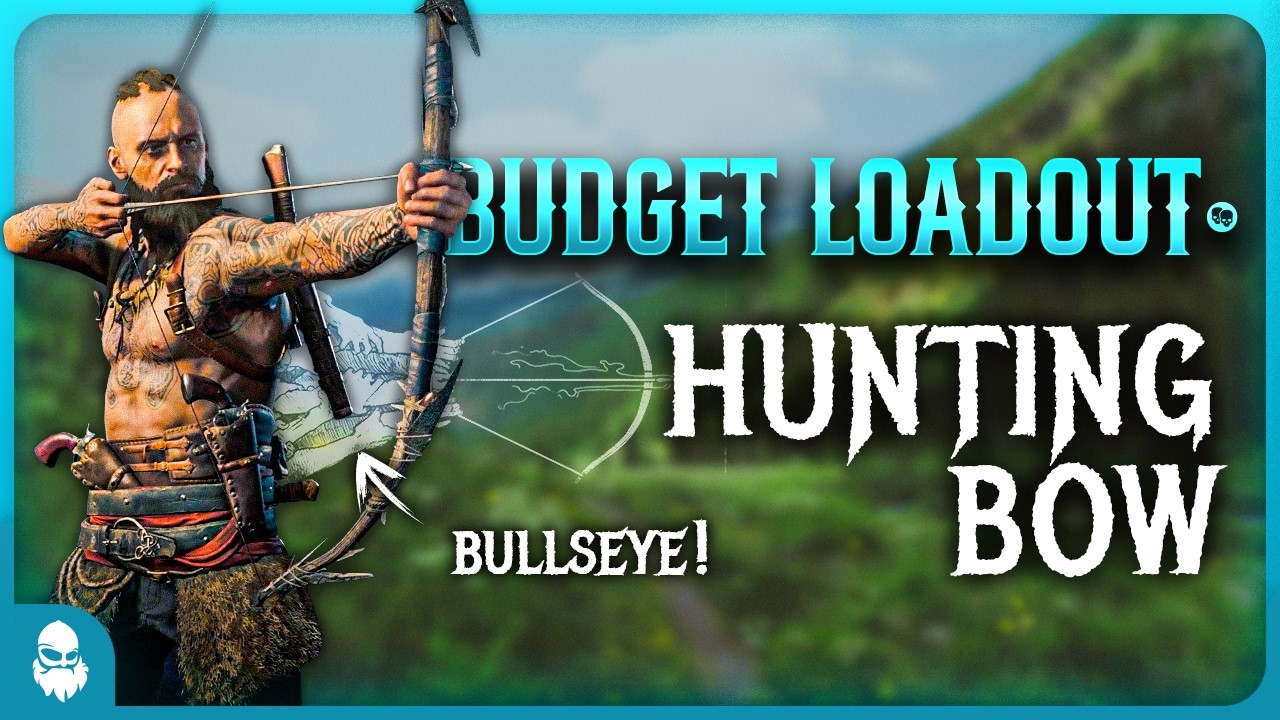
My FAVORITE Budget Loadout! Hunting Bow & Springfield Bullseye | Hunt: Showdown 1896
Intro:
Hi guys, REX here — and welcome back to my budget loadout series, where I cover cheap but reliable setups I genuinely recommend you try out.
Together with my community, I’ve set an upper price limit of 600 Hunt Dollars per loadout, keeping things as cheap as possible without sacrificing efficiency.
Today we’re running the Hunting Bow, paired with the Springfield Bullseye — a versatile and deadly budget setup that excels at holding angles and punishing pushes whilst staying effective at range.
The Hunting Bow is incredibly strong in close to mid-range. With Hundred Hands, it has one-tap potential to the torso up to 34 meters and even leg one-taps to the legs at 7 meters. It’s especially powerful in close quarters, making it extremely dangerous to push if you underestimate it.
On the bow, I’m running regular arrows, as they offer the best hip fire accuracy and ammo sustainability.
How much you should draw the bow depends on distance and timing. Underdrawing can leave enemies alive long enough to kill you, while overdrawing will also them enough time to kill you before you can release an arrow — finding that balance is key.
To cover long range engagements, I’m pairing the bow with the Springfield Bullseye, running half high velocity and half dumdum.
High velocity makes landing shots at range much easier due to the higher bullet speed and drop range, while dumdum applies intense bleeding. Since the bow also applies bleeding, the dumdum is more a “nice to have” for pressure on range, rather than a must-have.
For this loadout, the playstyle is all about using the right weapon at the right time.
In close to mid-range, the bow is your primary tool — holding angles and punishing pushes. Letting enemies walk into your crosshair is often the strongest play.
At longer ranges, or when bow shots are unlikely to kill quickly, the Springfield takes over to apply pressure or finish targets behind light cover if you’re using HV ammo.
The biggest weakness of this loadout is the skill required to use the bow consistently. Missing shots, managing draw poorly or being caught out of cover can throw fights quickly, and the bow has no penetration power. Movement, positioning and technical skills are crucial.
For tools, I’m running knuckle knife, medkit, flare pistol, and decoy fuses for solo. For teams I recommend swapping the decoys for choke bombs.
Consumable-wise, I’m keeping it simple:
A small vitality shot, a small regeneration shot, a large stamina shot, and a waxed dynamite for aggressive pushes and synergy with decoy fuses.
Trait-wise, Hundred Hands is highly recommended for consistency, as it increases the bow damage on full-draw by 10%.
For solo, I prioritize Necromancer, Vigilant, Magpie, Dauntless, and Kiteskin, and in teams, I’ll run Necromancer, Resilience, and Vigilant.
The total cost for this loadout is 477 Hunt Dollars. You can cut the price further by skipping special ammo on the Springfield, swapping the flare pistol for fusees, or downgrading the stamina shot — bringing it down to 356 Hunt Dollars.
If you want to learn more about the bow, including why I never run poison arrows, check out my in-depth bow guide which I’ll link in the description.
But without further ado — let’s dive into it.