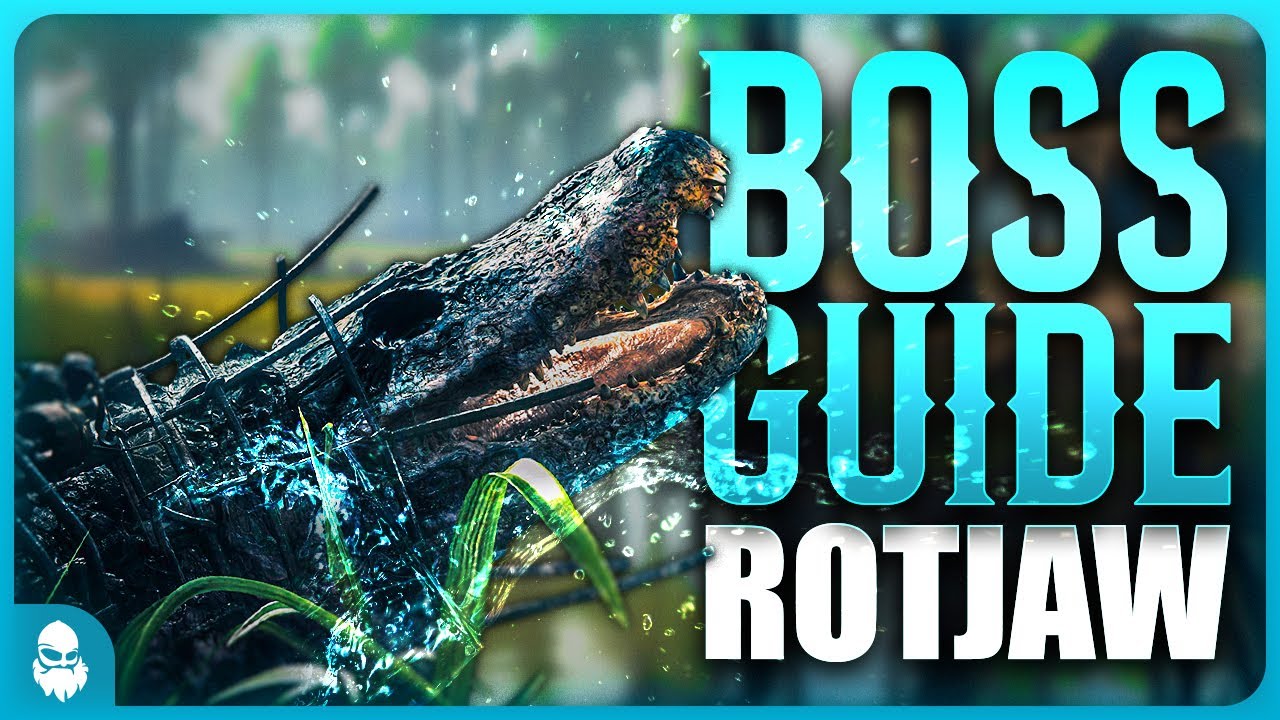
The ULTIMATE Rotjaw Guide – How To Find & Kill The Alligator Boss (2026)
Hi guys, Rex here!
In this video we’re doing a full breakdown of Rotjaw, Hunt: Showdown’s massive alligator Wild Target. She’s not a traditional boss — she doesn’t spawn in a compound like the others — and the way you track and fight her works completely differently.
In this video I’ll show you how Rotjaw works, how to find her, how to avoid her attacks, and how to kill her quickly — or even one-shot her if you set it up properly.
So without further ado — let’s dive into it.
1. Rotjaw Spawns
At the start of the match, you’ll see the boss icons in the top-left.
Rotjaw does not appear there initially. She only shows up once you:
• Interact with one of her clues, or
• Physically spot her
Every match has two bounty slots, meaning you’ll either get:
• Two regular bosses
• One boss and a sealed bounty token
• Or a boss and a Wild Target
Rotjaw can spawn on Stillwater Bayou, Lawson Delta, or DeSalle, but never on Mammon’s Gulch. So if you’re on one of those maps with just one boss and no sealed bounty, Rotjaw is guaranteed to be in your match.
No matter where she spawns, she’s always next to water.
2. Locating Rotjaw
Rotjaw’s clues behave differently from normal boss clues.
Interacting with them points you toward her direction instead of eliminating an area.
If you know her common spawn areas, that direction alone often tells you where she is.
As you get close:
• Deep growling in Dark Sight points to her exact location
• Her Wild Target icon appears as you enter the area and glows:
– White if no enemy hunters are nearby
– Or red if enemy hunters are close.
This makes it easy to confirm both her position and whether the area is contested.
3. Initiating the Fight
Rotjaw always begins the match on land, usually hidden by foliage at the shoreline.
If you walk too close, she’ll quickly dive into the water — but if you spot her early, you can initiate the fight on your own terms.
• Air bursting an explosive deals heavy damage to start the fight.
• Taking a shot also works, though most regular ammo barely scratches her.
• Throwing a spear or a world-found melee tool can deal a nice chunk of damage.
• Or you can hit her with a sticky beetle for big early damage if you’re in a team and feeling creative.
A Big Dynamite Bundle can one-shot her if placed correctly, though landing this before she dives is rare. A more consistent method is letting her enter the water, waiting for her first resurfacing, and air bursting the bundle for an instant early kill.
With the Pitcher trait, a regular dynamite bundle can also deal a lot of damage early, and if done correctly, you can drastically shorten the fight.
4. Attacks & Movement Patterns
Once submerged, Rotjaw appears when:
- A player enters the water, or
- She randomly resurfaces, creating brief damage windows
Once someone is in the water, her attack loop begins. Rotjaw has two attacks, distinguished by the sound and bubbles she creates.
4.1 The Bite Attack
Regular, darker bubbles indicate a bite.
She swims toward the player, pops up, bites for heavy damage, then submerges and resets.
4.2 The Charge Attack
White bubbles mean she’s about to charge.
She resurfaces and lunges at high speed, knocking players down and dealing heavy damage. Because you’re slowed in water, getting knocked down can often lead to getting killed before you can get out of the way.
Every charge sequence consists of three charges before she resets.
To dodge it:
- Watch for the white bubbles
- Wait for the charge
- Then sidestep left or right as she’s charging.
She always charges in a straight line, making it easy to dodge once you know what you’re doing.
This also gives a perfect window to hit her — start charging a heavy melee attack as you’re moving out of the way and land the hit as she passes. She submerges quickly following each charge, but if you sidestep at a slight angle, it can be easier to hit her consistently.
5. Enrage Mechanic
At 50% health, Rotjaw Enrages:
• She resurfaces, roars, and sheds her armor
• Multiple black puddles are scattered around the area
These puddles:
• Instantly drain stamina
• Slow you down tremendously
• Make repositioning risky
During the enrage Rotjaw takes reduced damage, but afterward her normal attack cycle resumes.
6. Weaknesses
Rotjaw has two major weaknesses: melee and poison.
6.1 Melee Damage
Rotjaw is extremely weak to melee.
Any world-found melee weapon works well — for example, an axe or a sledgehammer can chunk her health in a few hits.
Melee tools you bring also work well, and with Berserker the fight becomes much easier.
Because her charge windows are predictable, landing melee hits during those openings is one of the most reliable ways to kill her.
6.2 Poison Damage
Rotjaw is also highly vulnerable to poison.
• A Nagant pistol with poison & Fanning melts her in seconds.
6.3 Her Weak Spot
Rotjaw takes increased damage to the mouth, which is especially useful if you’re trying to kill her with bullets. Regular ammo still isn’t great overall, but aiming for the mouth helps a lot.
And of course, the Nitro Express deals massive damage and is extremely effective.
7. Advanced Strategies
A Big Dynamite Bundle can one-shot Rotjaw with proper placement — either by catching her on land or timing an airburst when she resurfaces.
With Pitcher, you can airburst a regular dynamite bundle before she enters the water for huge early damage.
The Dark Dynamite Satchel deals the same damage as a Big Bundle and can consistently one-shot her:
• Place it on the shoreline
• Enter the water and bait her charge
• Then detonate it (or shoot it) as she lines up
She’ll charge directly into the explosion and die instantly.
This can also be done solo, but with some differences:
• You must avoid the charge or you’ll be knocked down and unable to detonate the satchel
• You will die to the satchel, same as when you’re in a team
• But since you’re solo, you must have Necromancer to self-revive afterward
Great when the lobby is clear or you’re short on time.
With Tarot cards now in the game, killing Rotjaw is even easier.
The Tower card deals 50% of a boss or Wild Target’s max health as instant damage.
Two Tower cards will kill Rotjaw outright — as long as you wait for her enrage animation to finish, since she takes reduced damage during the roar.
If timed correctly, this bypasses the entire fight and kills her almost instantly.
8. Bounty & trait drops
When Rotjaw dies, she is instantly banished, restoring full health to your team.
She always drops a scarce trait, which currently includes:
• Shadow
• Shadow Leap
• Remedy
• Relentless
• Rampage
• Death Cheat
• And Berserker
Her death location appears as a black puddle on the map, allowing any player to claim the trait — even after the killing team leaves. It’s often worth checking before extracting for a guaranteed free scarce trait.
Rotjaw only drops one bounty token, valued at 125 Hunt Dollars before bonuses, like all other bounty tokens. With kill & banish rewards, the overall yield is slightly higher.
For duos and trios, the total value is lower than for regular bosses since they get half the tokens, but for solos — thanks to the 480% bounty modifier — Rotjaw typically pays around 1,000 Hunt Dollars, making her as profitable as any boss.
Outro
And that’s it for this Rotjaw guide! This encounter can seem chaotic or difficult at first, but once you understand how to predict her attacks, and how her enrage mechanic works, she becomes one of the easiest and fastest bosses to kill.
Take advantage of melee, poison, and her predictable charge patterns — or use explosives or Tarot cards if you want the fight over quickly.
Let me know in the comments: Did you learn something new from this guide? If you did, don’t forget to like & subscribe so you don’t miss future videos!
Thank you for watching, and I’ll see you in the Bayou!