Utility, Economy & Stealth Traits EXPLAINED! Full Guide & Tier List | Hunt: Showdown 1896Intro:
Hi guys, Rex here!
And welcome to the final part of my Ultimate Trait Guide & Tier List series for Hunt: Showdown 1896.
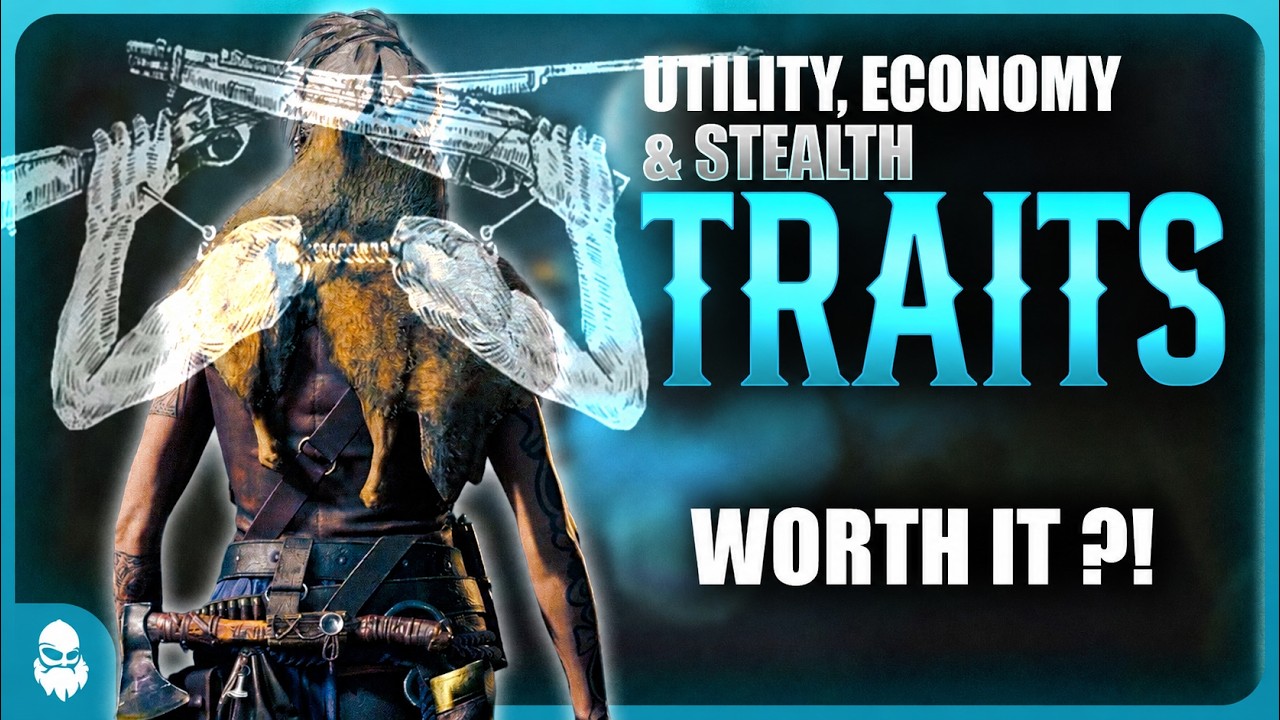
Today, we’re wrapping things up with Utility, Economy & Stealth traits — a category that includes some of the most useful quality-of-life traits in the entire game, some incredibly powerful build enablers, and a few picks that are much harder to justify.
Some of these can completely change how you build your hunter, massively improve your survivability or economy, or unlock loadouts that simply aren’t possible otherwise.
As always, I’ll break down exactly what each trait does, highlight important mechanics and synergies, and then rank them based on their overall practical value.
So without further ado, let’s dive into it!
1. Quartermaster
First up in this category, we have Quartermaster. This trait costs six points and allows you to equip a medium-slot weapon alongside a large-slot weapon.
By default, Hunt: Showdown uses a slot-based weapon system. Small weapons take one slot, medium weapons take two, and large weapons take three. Since hunters normally have four total weapon slots, that means your default options are things like a large weapon and a small sidearm, two medium weapons, or two small weapons.
Quartermaster changes that completely by effectively giving you an additional slot, allowing you to pair a large weapon with a medium weapon instead.
This opens up some of the strongest loadouts in the entire game. For example, you could run the incredibly powerful Auto-5 alongside a Dolch Precision, combining devastating close-range power with an exceptional medium-range sidearm. One of my personal favorites is the Maynard Sniper Silencer paired with the Hunting Bow, which gives you incredible stealth, flexibility, and kill potential across all ranges.
Quartermaster is also extremely valuable for ammo-hungry weapons. Take the Mosin Nagant Avtomat as an example. Without Quartermaster, your options for extra ammo are fairly limited, but with the trait you can run something like the Mosin Obrez Extended, massively increasing your ammo pool while also giving yourself a much stronger secondary weapon.
The short version is that Quartermaster massively increases build flexibility and enables some of the strongest setups in Hunt.
It’s absolutely not required for every build, but some of the meta loadouts in the game simply aren’t possible without it.
And for that reason, I’m placing Quartermaster firmly in the S tier.
2. Packmule
Next up, we have Packmule. This trait costs four points and gives you one additional tool or consumable whenever you loot a hunter, toolbox, or saddlebag. This also applies to beetle pods, meaning you’ll receive two beetles instead of one when looting them.
This is an incredibly convenient and high-value trait, because it helps keep you in the fight for longer. More medkit charges mean more survivability, extra consumables mean more options in a pinch, and faster restocking means less downtime between engagements.
One of the hidden strengths of Packmule is the economic value. Whenever your tools and consumables are fully stocked, looting a hunter or saddlebag instead gives you between 50 and 1000 Hunt Dollars — just like the Vulture trait. Since Packmule helps you refill much faster, you naturally end up reaching that fully stocked state more often, which means more opportunities to generate money throughout your matches.
So on top of the obvious in-game utility, Packmule also helps sustain your economy over time.
By pretty much every metric, this is an extremely strong utility trait.
That said, I personally don’t prioritize it as often as some players do, simply because the current trait pool is so competitive that I usually end up having to choose between my favorites.
Because of that, I’m placing Packmule in the high A tier. It is absolutely worth running, and I could easily understand why some players would place it in S tier.
3. Frontiersman
Next up, we have Frontiersman. This trait costs five points and gives you one additional charge for all charge-based tools. This applies to things like medkits, throwing weapons, traps, flare pistols, the Pennyshot Derringer, and more.
If you’re playing solo and also run the Catalyst trait, that bonus becomes even stronger, giving you two additional charges instead of one.
This is an incredibly high-value utility trait, because it improves multiple parts of your loadout at once. More medkit charges means more survivability, extra throwing weapons means more pressure or utility, and additional tool charges in general simply give you more flexibility throughout a match.
Frontiersman is also part of one of the strongest trait combinations in the entire game, which we covered earlier in this series: Doctor, Physician, Surefoot, and Frontiersman. Combined, those traits allow you to heal more, heal faster, heal while sprinting, with more charges available.
I personally run Frontiersman regularly even in team play, but the value becomes especially ridiculous for solos when paired with Catalyst.
Because of how much utility and survivability this trait provides across so many different builds, I’m placing Frontiersman firmly in the S tier.
4. Poacher
Next up, we have Poacher. This trait costs one point and allows you to place and disarm traps quietly.
This is actually a really cool trait, because it opens up some genuinely sneaky plays. It allows you to push trapped areas without immediately giving yourself away while disarming, but even more importantly, it lets you place traps in the middle of a fight without enemies realizing it.
That can be surprisingly effective, especially because players may have already scanned the area with Vigilant and assume it’s safe. If they didn’t hear or see you place a trap afterwards, that false sense of security can easily work in your favor.
I’ve personally gotten some really fun kills with this trait in the past, which definitely adds to the appeal.
That said, Poacher is still highly situational. If you’re leaning heavily into traps, it’s a very logical pickup. Outside of that, though, it’s usually hard to justify over stronger alternatives.
I do occasionally pick it up, but usually more for the fun factor than because I think it’s an especially powerful meta choice.
Because of how situational yet still genuinely useful it can be, I’m placing Poacher in the C tier. It’s a solid niche trait, but in a full build, it almost always makes way for something more impactful.
5. Whispersmith
Next up, we have Whispersmith. This trait costs one point and reduces the noise made when switching between weapons, tools, and consumables.
In theory, that sounds great, since it makes you less likely to give away your position through audio. But in practice, I find this trait to be incredibly situational.
Most of the time, if an enemy is close enough to hear you switching equipment, there’s a good chance they already know you’re nearby.
On top of that, equipment switching can often go unnoticed even without the trait, especially if you’re masking your actions with other nearby audio sources like gunfire, movement, explosions, or environmental noise.
That doesn’t make Whispersmith useless — just highly situational, with other ways to work around the problem it solves.
While I can absolutely see situations where this helps, I honestly can’t remember the last time I picked it. There are simply too many far stronger traits competing for those slots, and this one just doesn’t offer enough consistent value to warrant picking it.
That said, it’s entirely possible I’ve been sleeping on this trait a bit and not giving it quite enough credit.
But based on practical value, I’m placing Whispersmith in the C tier.
6. Beastface
Next up, we have Beastface. This trait costs four points and reduces the reaction range of animals. That means it works on things like horses, ducks, crows, chicken coops, dog pens, bats and cows, but does not affect monsters like Hellhounds.
With Catalyst, however, the trait becomes significantly stronger. Instead of simply reducing detection range, animals become completely unable to detect your regular movement. You can run straight through them, jump around nearby, or even sit inside a chicken coop without anyone knowing — just make sure your teammates don’t try to burn it while you’re in there.
That said, other audio sources still work as normal. If you step on glass, snap a branch, fire a weapon, or do anything else that would normally alert them, they’ll still react.
On its own, Beastface is a nice quality-of-life trait, but not one I would ever realistically prioritize. The reduced detection range is simply too easy to work around by playing a bit more carefully and keeping some distance.
That makes Beastface a tricky one to rank, because by itself I would easily place it in the C tier, but when paired with Catalyst for stealth-focused gameplay, it becomes drastically more valuable.
Since the trait reaches its true potential in that combo, I’m placing Beastface firmly in the B tier overall.
7. Decoy Supply
Next up, we have Decoy Supply. This trait costs one point and allows you to restock all types of decoys from ammo crates.
This is a bit of a strange one, and honestly a trait I sometimes forget even exists.
There isn’t a huge amount to say about it, because the effect is pretty straightforward. If you’re running a decoy-heavy setup, this can obviously be useful, and one indirect benefit is that keeping your decoys topped off more easily means you may be able to get more valuable loot from toolboxes instead.
That said, I personally can’t remember ever actively running this trait. It simply doesn’t offer meaningful value for my playstyle, and even when I do bring decoys, I rarely find myself struggling to replenish them.
That makes this trait incredibly niche and fairly weak overall.
For that reason, I’m placing Decoy Supply in the D tier.
8. Vulture
Last but not least, we have Vulture. This trait costs two points and is the only trait in the game that directly helps you make more money.
With Vulture, you gain between 50 and 1,000 Hunt Dollars for each hunter you loot for the first time in a match.
This works similarly to the overflow mechanic we covered under Packmule — except Vulture doesn’t require you to be maxed out on tools and consumables first. And yes, the two mechanics can stack, meaning you can potentially receive two separate Hunt Dollar rolls from a single hunter loot, both individually ranging from 50 to 1,000 Hunt Dollars.
Because of that, Vulture is easily the strongest money-making trait in the entire game.
That said, the trait does absolutely nothing outside of the economic benefit. It doesn’t help you win fights, improve survivability, or increase utility in any way — it just makes you richer if you win.
This is honestly a weird one to rank, because Vulture somehow manages to be both D tier and S tier at the same time.
If your only goal is maximizing combat effectiveness and winning more fights, Vulture should be very low on your priority list, because it offers zero gameplay benefits.
And yet… I run it all the time. People often ask me: “Why do you run Vulture when you have so many Hunt Dollars?” And my answer is usually: “How do you think I got that much?”
It’s like telling a successful investor to stop investing because they already have money. That’s not really how it works.
Because I am an absolute loot goblin and love the dopamine hit of watching my Hunt Dollar balance go up, Vulture will always be an easy pick for me.
At the end of the day, this is a trait designed specifically to make money, so that’s what I’ll rank it based on. It does exactly what it’s supposed to do exceptionally well, and for me, it genuinely makes the game more enjoyable.
And because of that, I am placing Vulture in the S tier.
Outro:
And that wraps up my Ultimate Trait Guide & Tier List series for Hunt: Showdown 1896.
Over the course of this series, we’ve gone through every single trait in the game, broken down exactly what they do, explored important synergies, and ranked them based on their practical impact.
And honestly, this is by far the biggest Hunt guide project I’ve ever worked on, taking countless hours of script writing, testing, recording, and organizing. But the end result is something I’m incredibly proud of.
My goal with this series was to create a complete trait guide that helps new and intermediate players better understand how traits work, visualize their mechanics, and make smarter decisions when building their loadouts.
But even if you’re a more experienced player, there’s a good chance you picked up something along the way as well. After all, I learned a few things myself while researching every single trait properly to make sure nothing important was missed or inaccurate.
Of course, tier lists will always be somewhat subjective, and your own playstyle will absolutely influence how you value certain traits. So if you disagree with any placements, think I massively overrated something, or believe a trait deserves to move up or down, let me know in the comments — I’d love to hear your opinion.
If you found this series helpful, make sure to subscribe. One of my main goals with this channel is to make Hunt: Showdown easier to get into by offering simple, to-the-point guides that new players can actually learn from — so you can definitely expect a lot more in the near future.
Thanks for watching, thanks for supporting the channel in all the ways that you do, and I’ll see you in the next one.